Article Credit: Andrea Hein for InStore Summer 2022
Here are the seven essential steps to decorating your tree like a professional - from a professional.
Step 1: Shaping
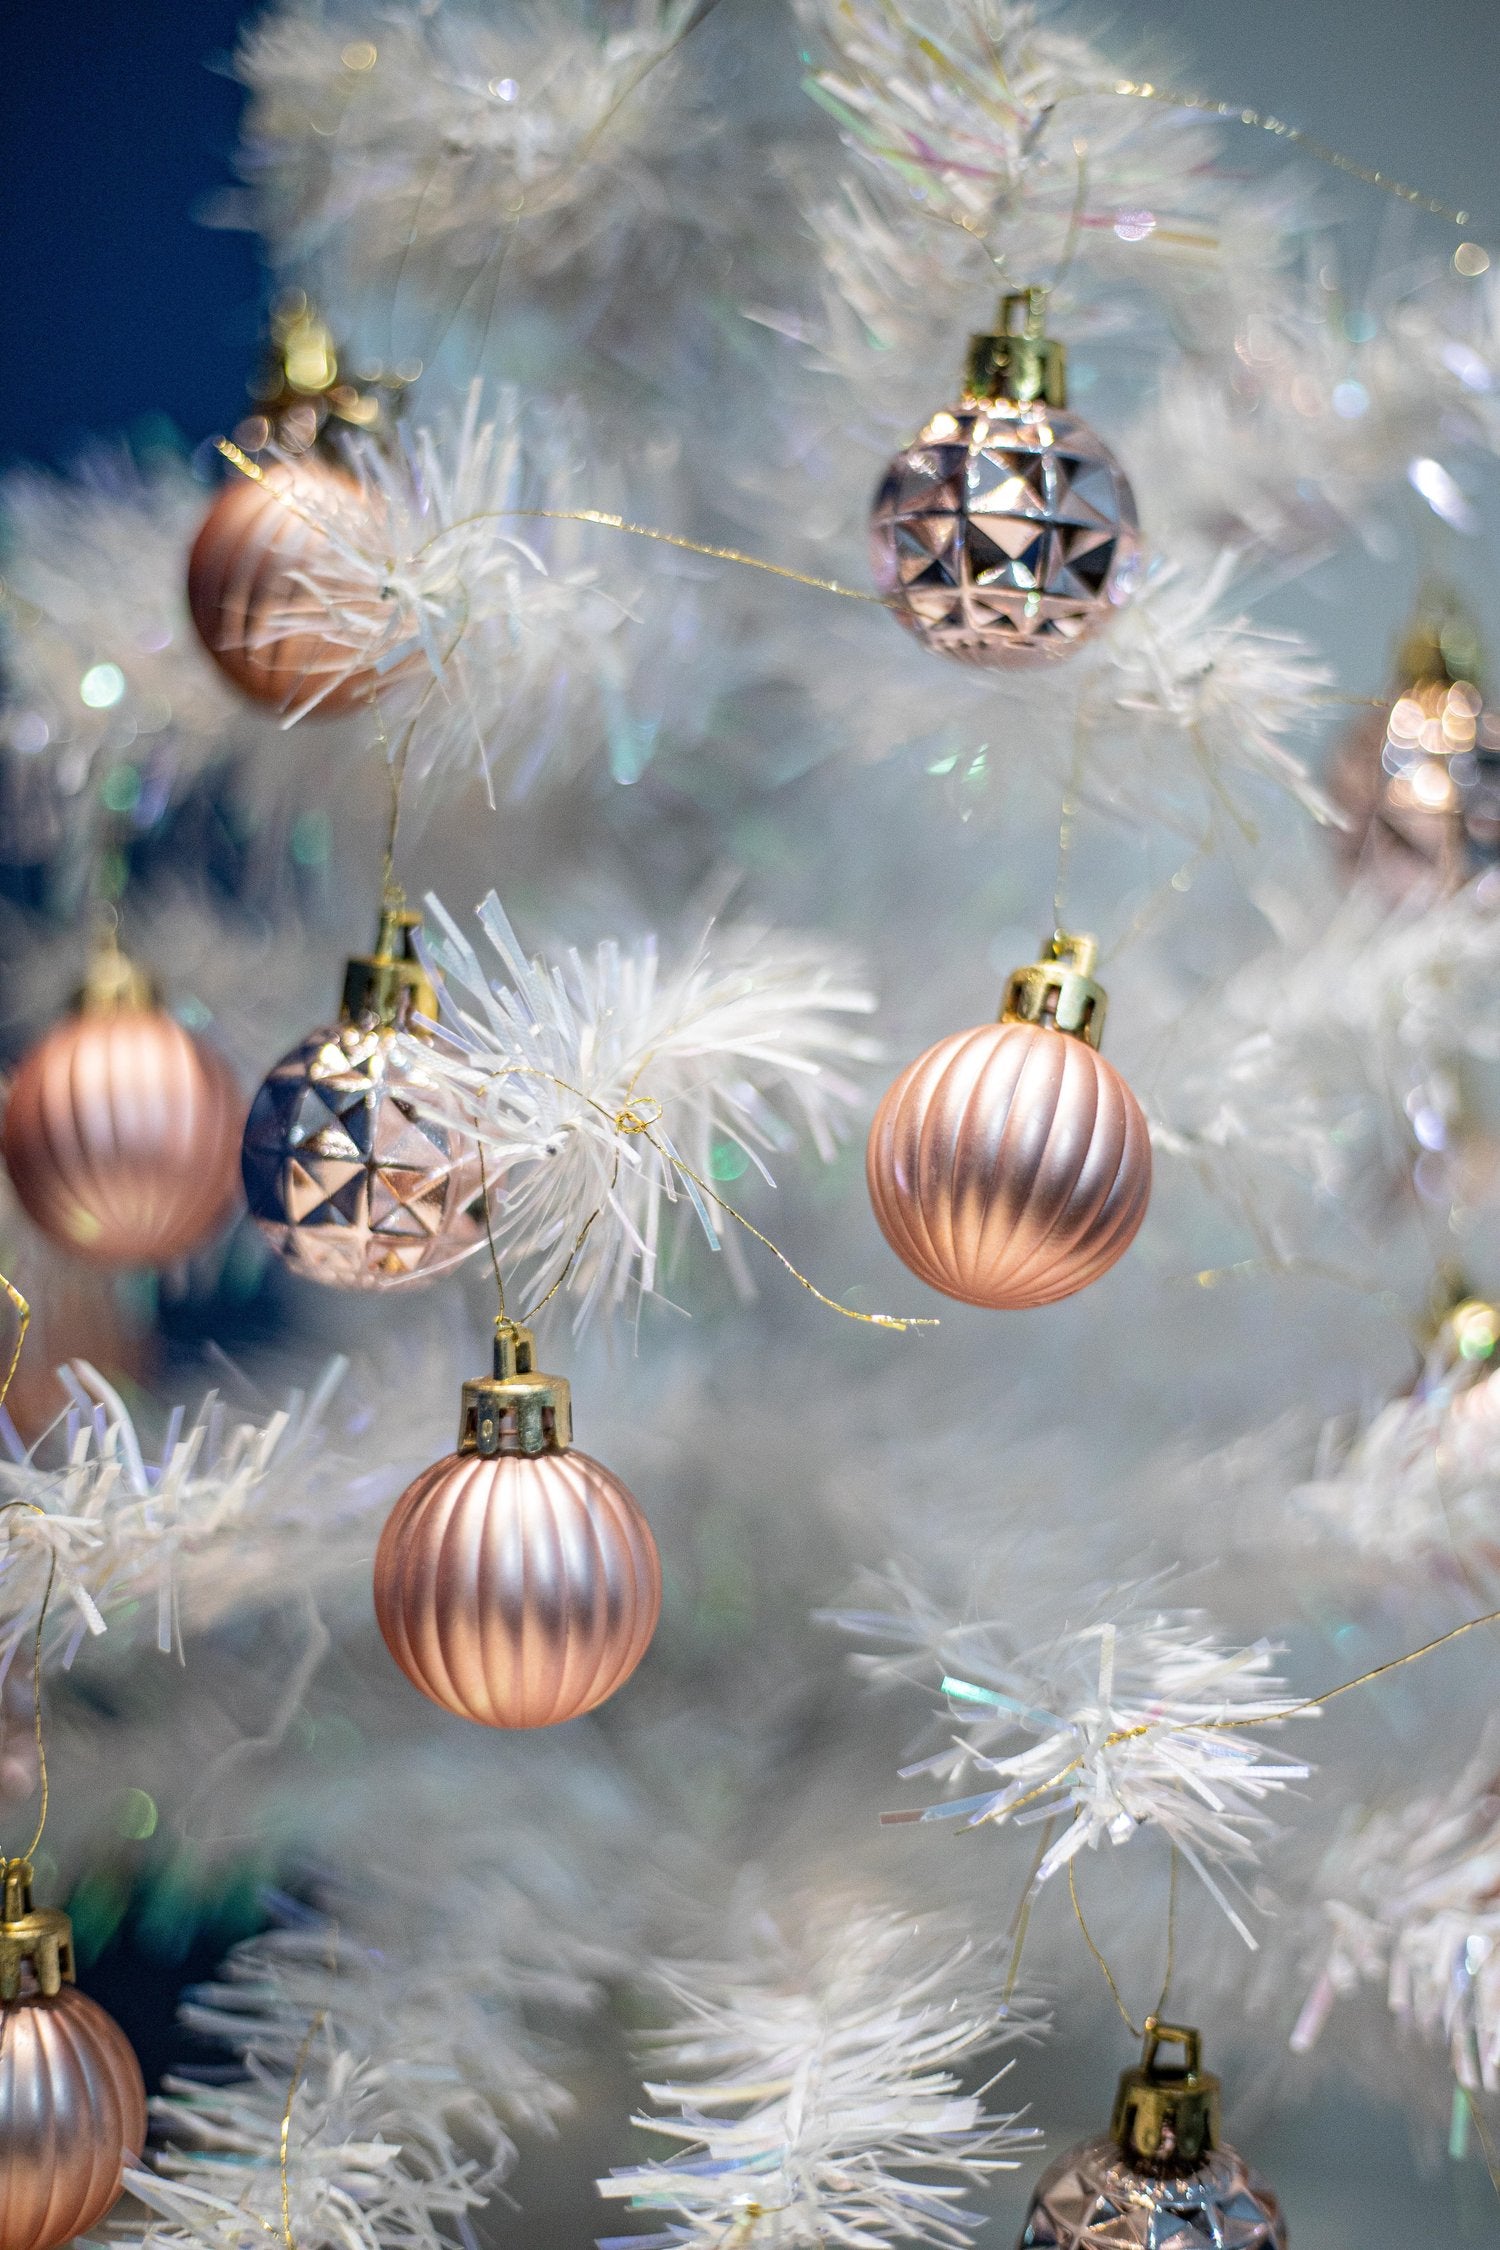
Photo by danilo.alvesd on Unsplash
Start from the bottom and work your way to the top, unfolding each stem on each branch for maximum impact. Shaping is the most important step. It can’t be skipped. Note: Since most trees now come pre-lit, we’ve skipped past the importance of lighting straight to shaping.
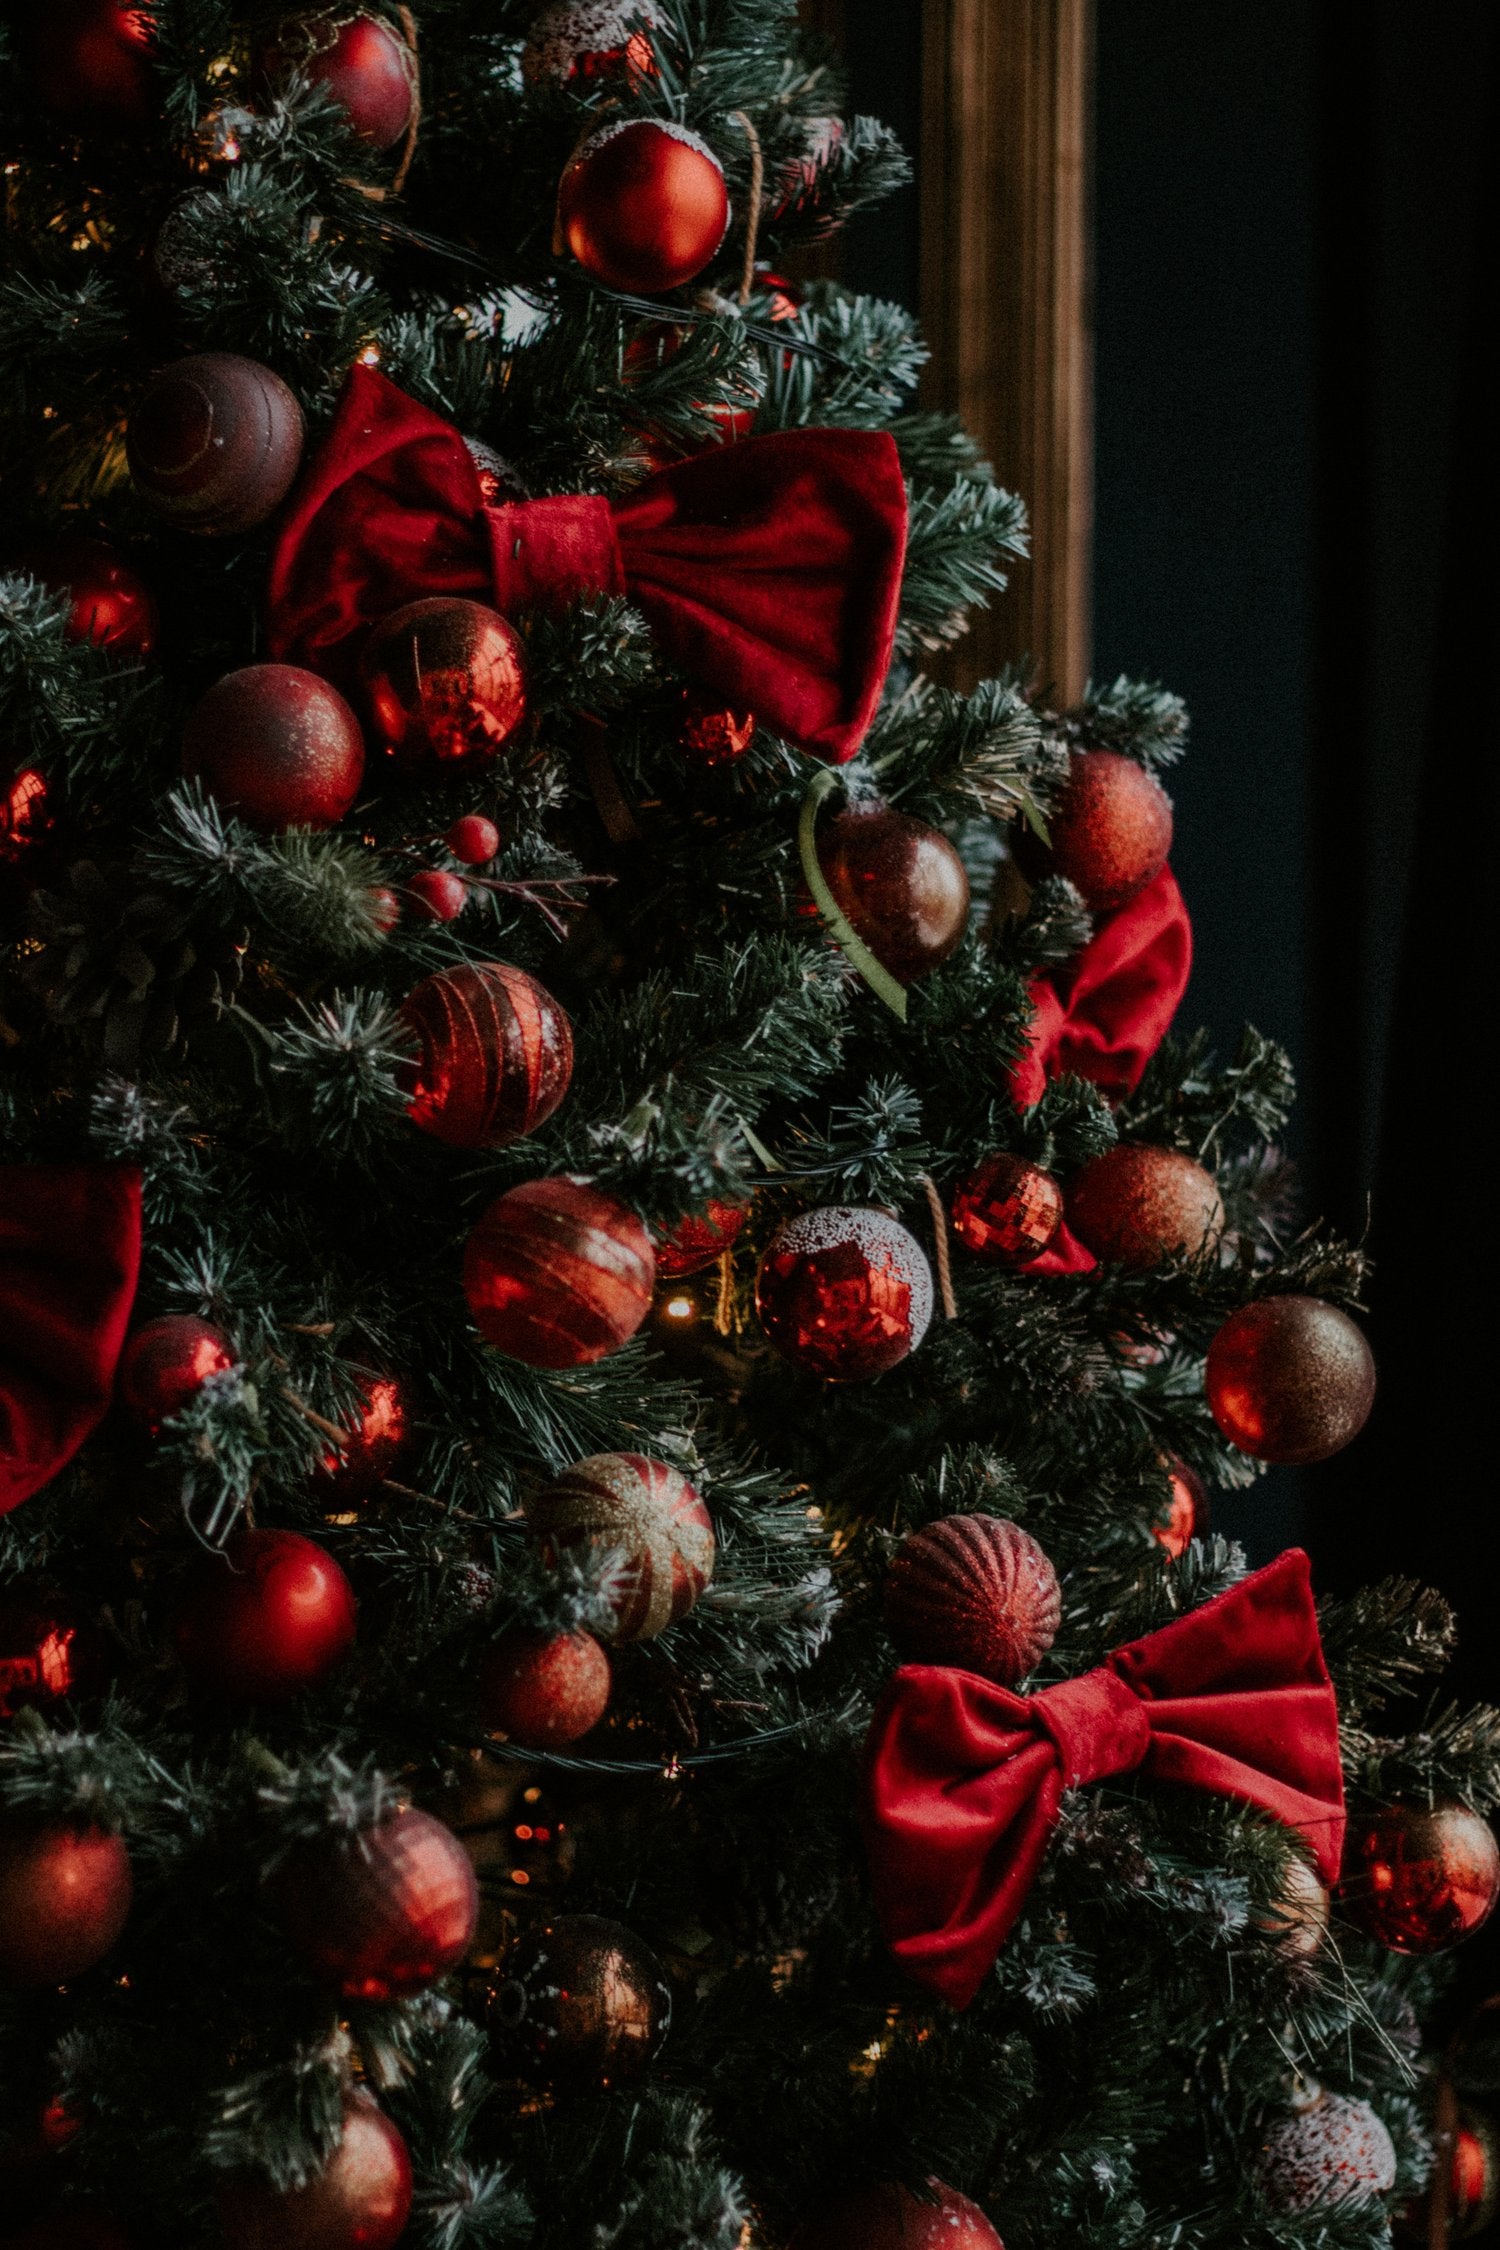
Step 2: Ribbon
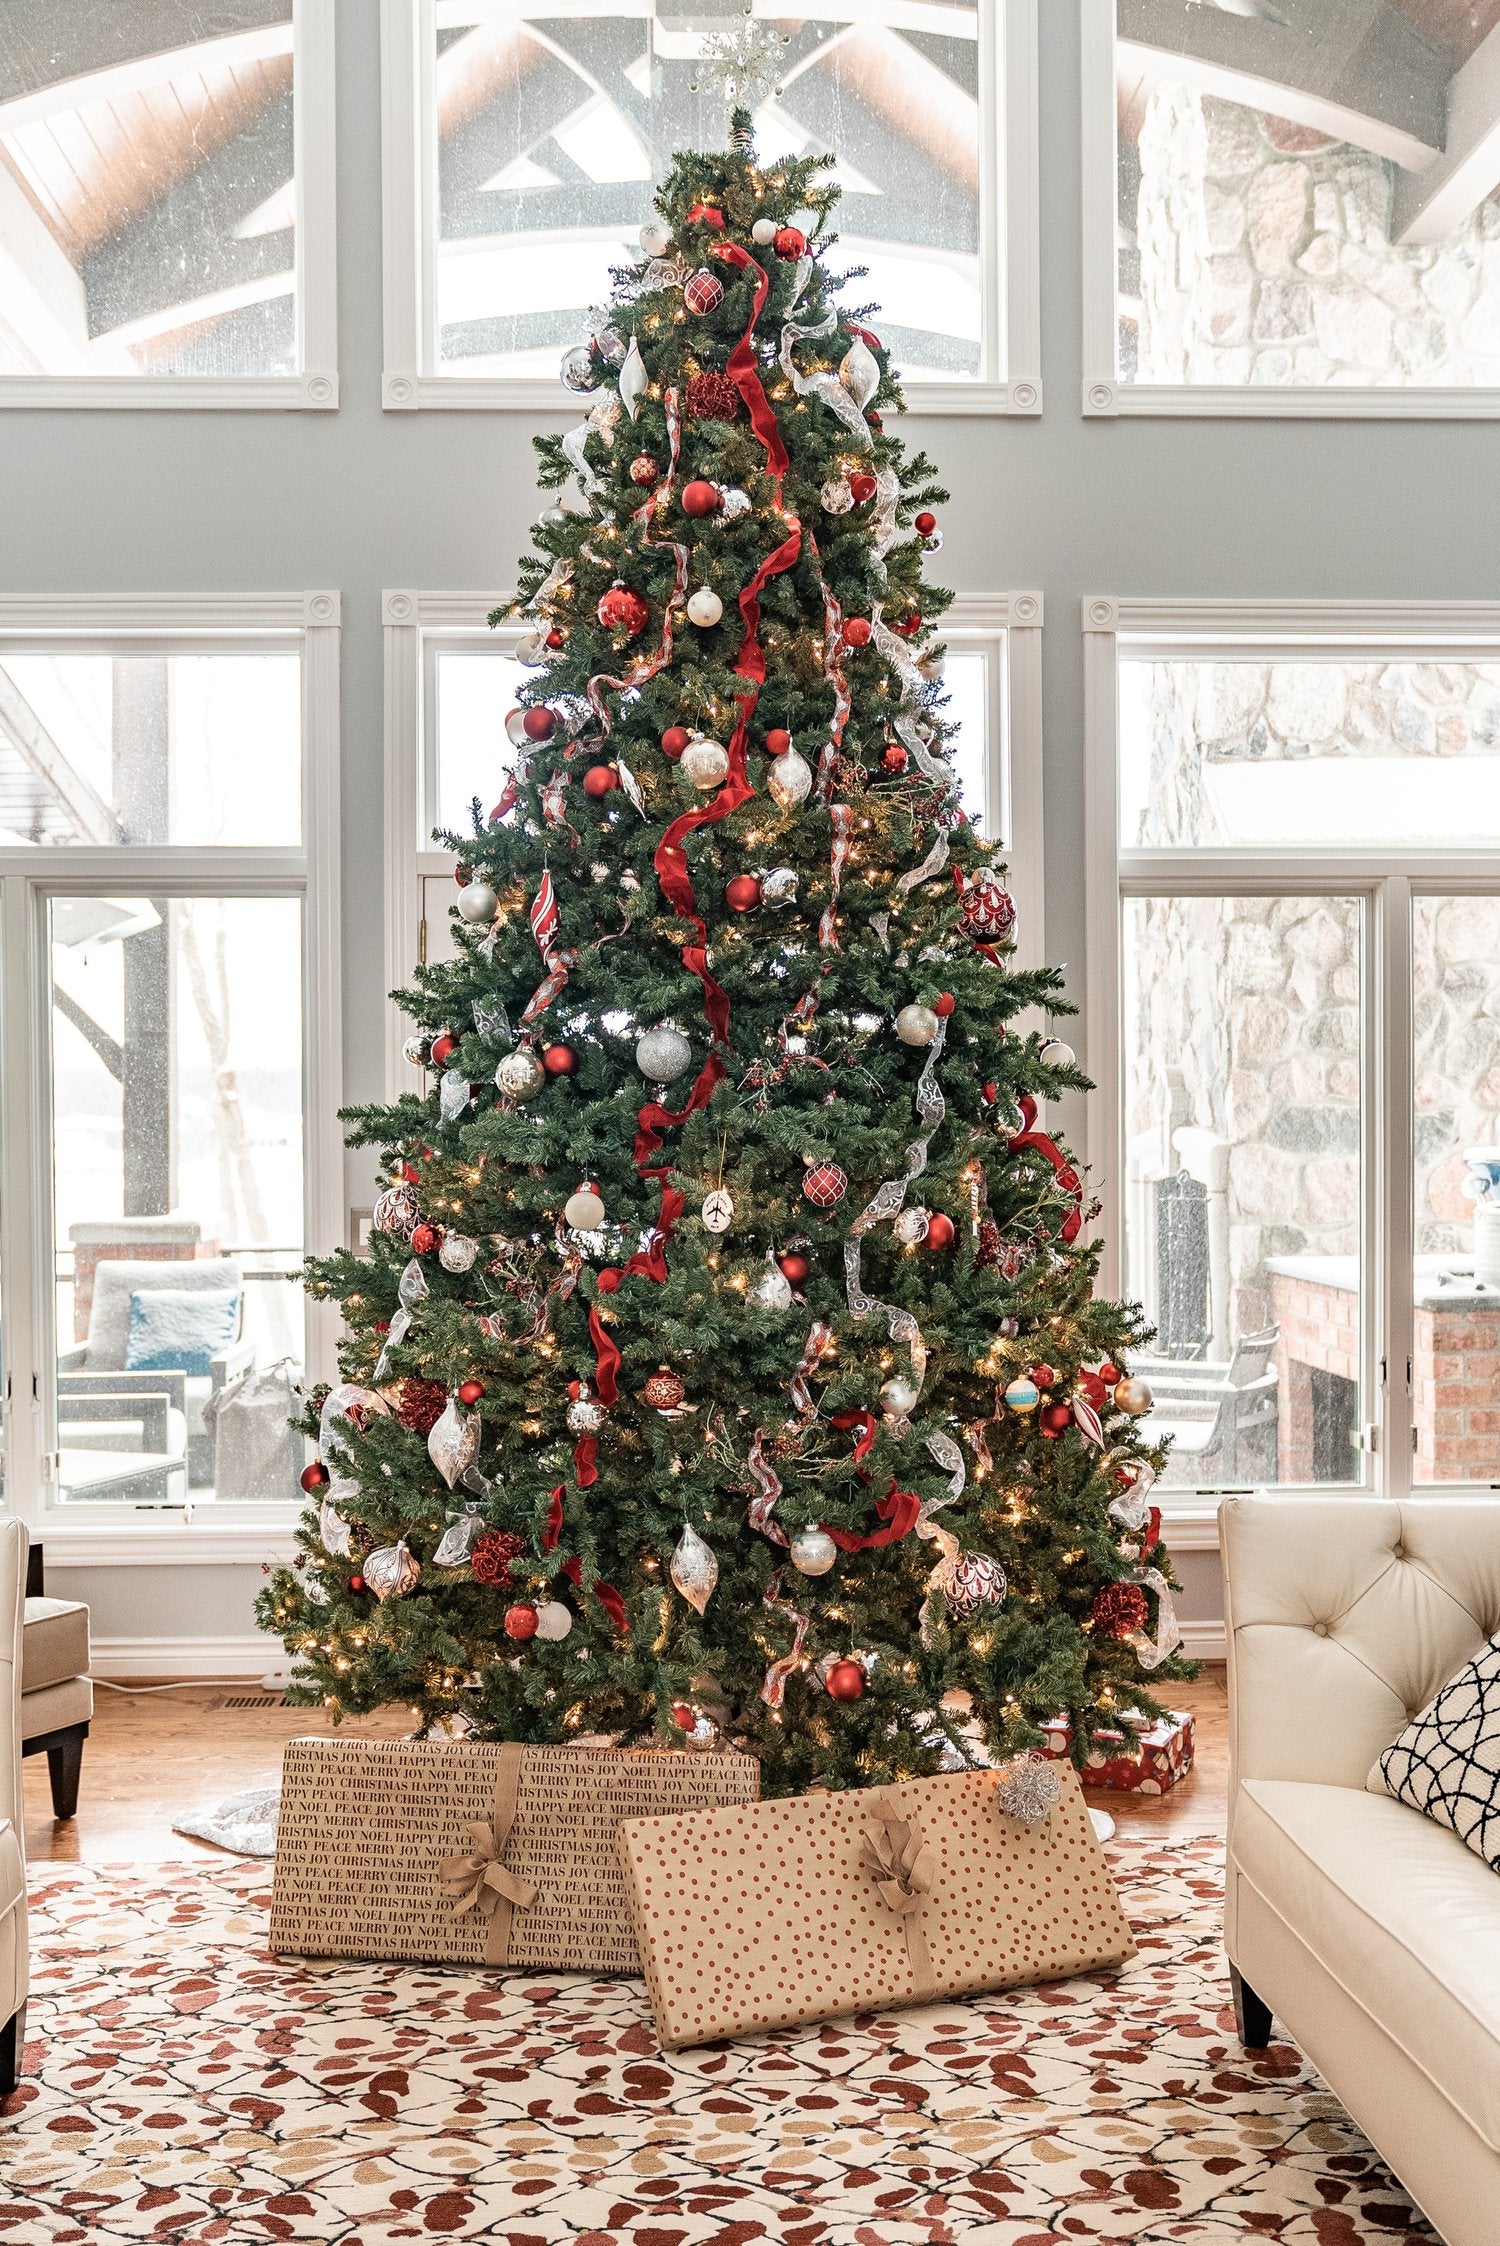
Photo by Cameron Stewart on Unsplash
Cascading ribbon is the easiest way to use ribbon. Start with a simple knot at the top of the tree (roughly eight to 12 inches from the top) with a 10 to 12-inch loop. Tuck the ribbon at the back of a branch and wrap around it. Dovetail the ends of the ribbon or cut them on the diagonal to keep everything looking neat. Typically, three to four cascading rows will cover most trees. Tip: If you’re more of a visual learned, head over to YouTube and search “Andrea Hein Occasions ribbon” We promise you’ll be a ribbon expert by the end of that video.)
Step 3: Garland
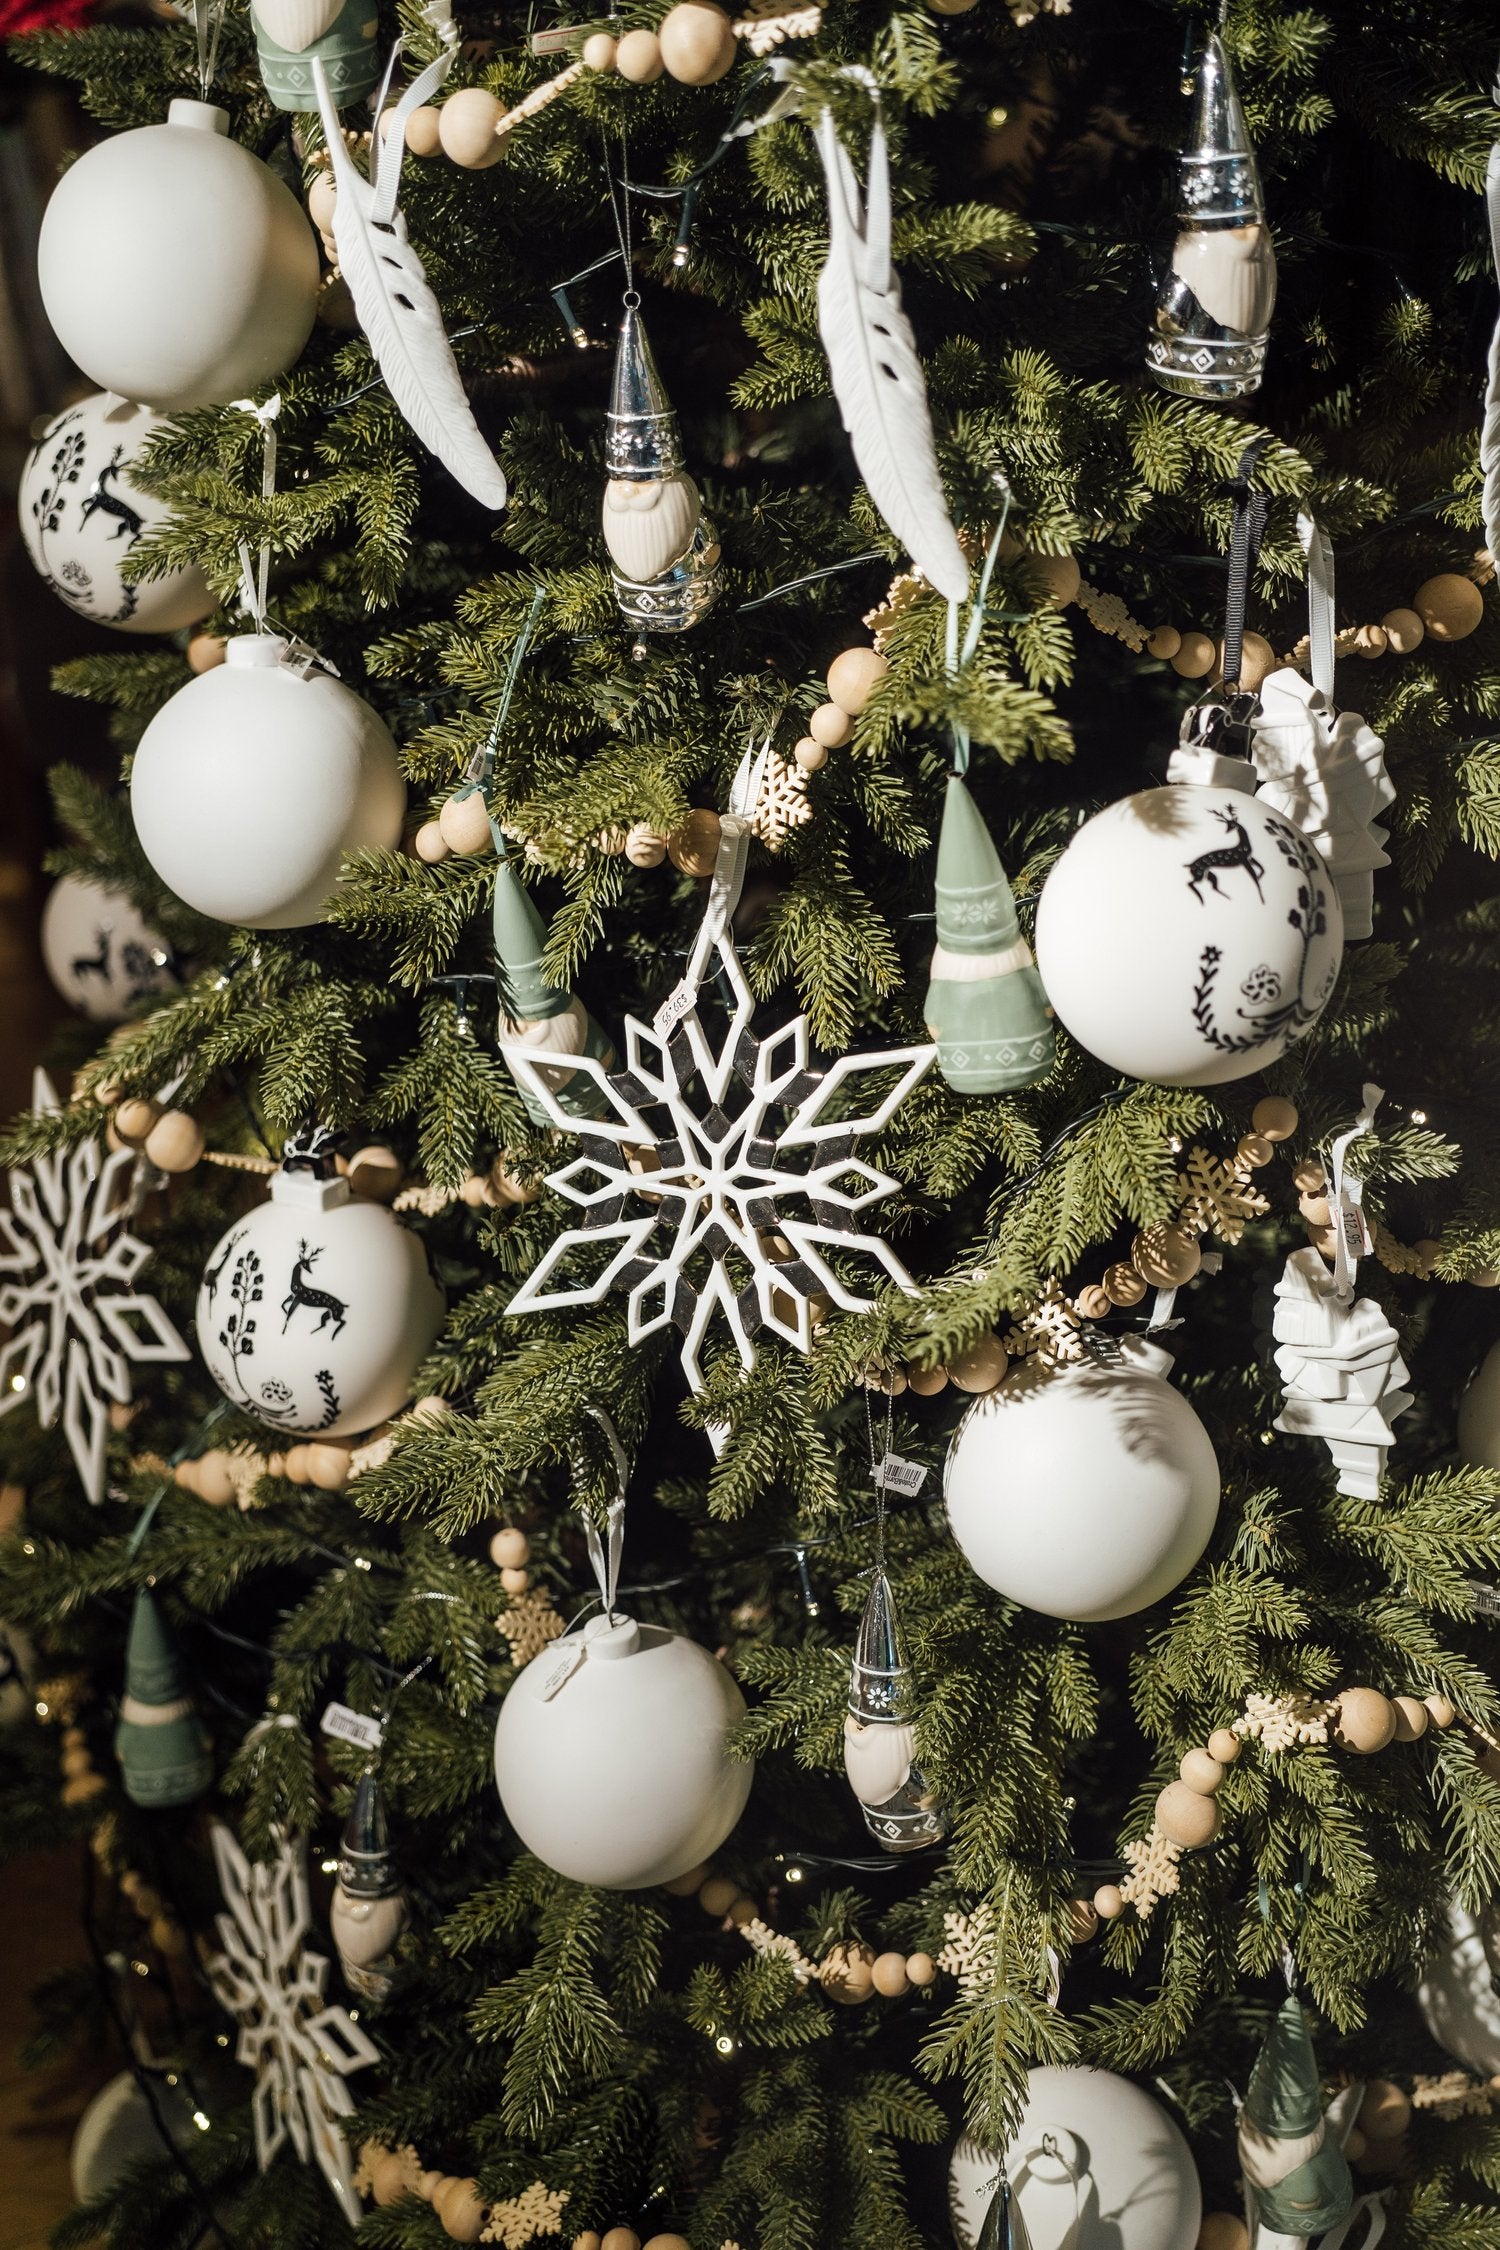
Photo by CHUTTERSNAP on Unsplash
Start at the bottom - about six to 12 inches from the bottom row of branches - and work up to the top with about two feet of spacing in between strands.
Step 4: Balls
Use three different sizes: small, medium and large, placing them in a zig-zag pattern beginning with the largest size. For the largest ball, I use (200 to 300 mm) pumpkin balls - about seven to nine per seven-foot tree. These massive balls provide depth and provide a pop of subtle colour. Push them into the tree, rather than dangling them from the tips of brands, and never place them near the bottom, but rather slightly above the mid-way point. Next, place your medium balls (100 to 150 mm) into the tree – again do not dangle from the tips of branches. The smallest size balls (60 to 80 mm) can be placed from the bottom all the way to the last foot of the tree. Mix up the placement – push some in and dangle others from branches. Just be sure to leave two-thirds of the branches clear for your detailed ornaments.
Step 5: Detailed Ornaments
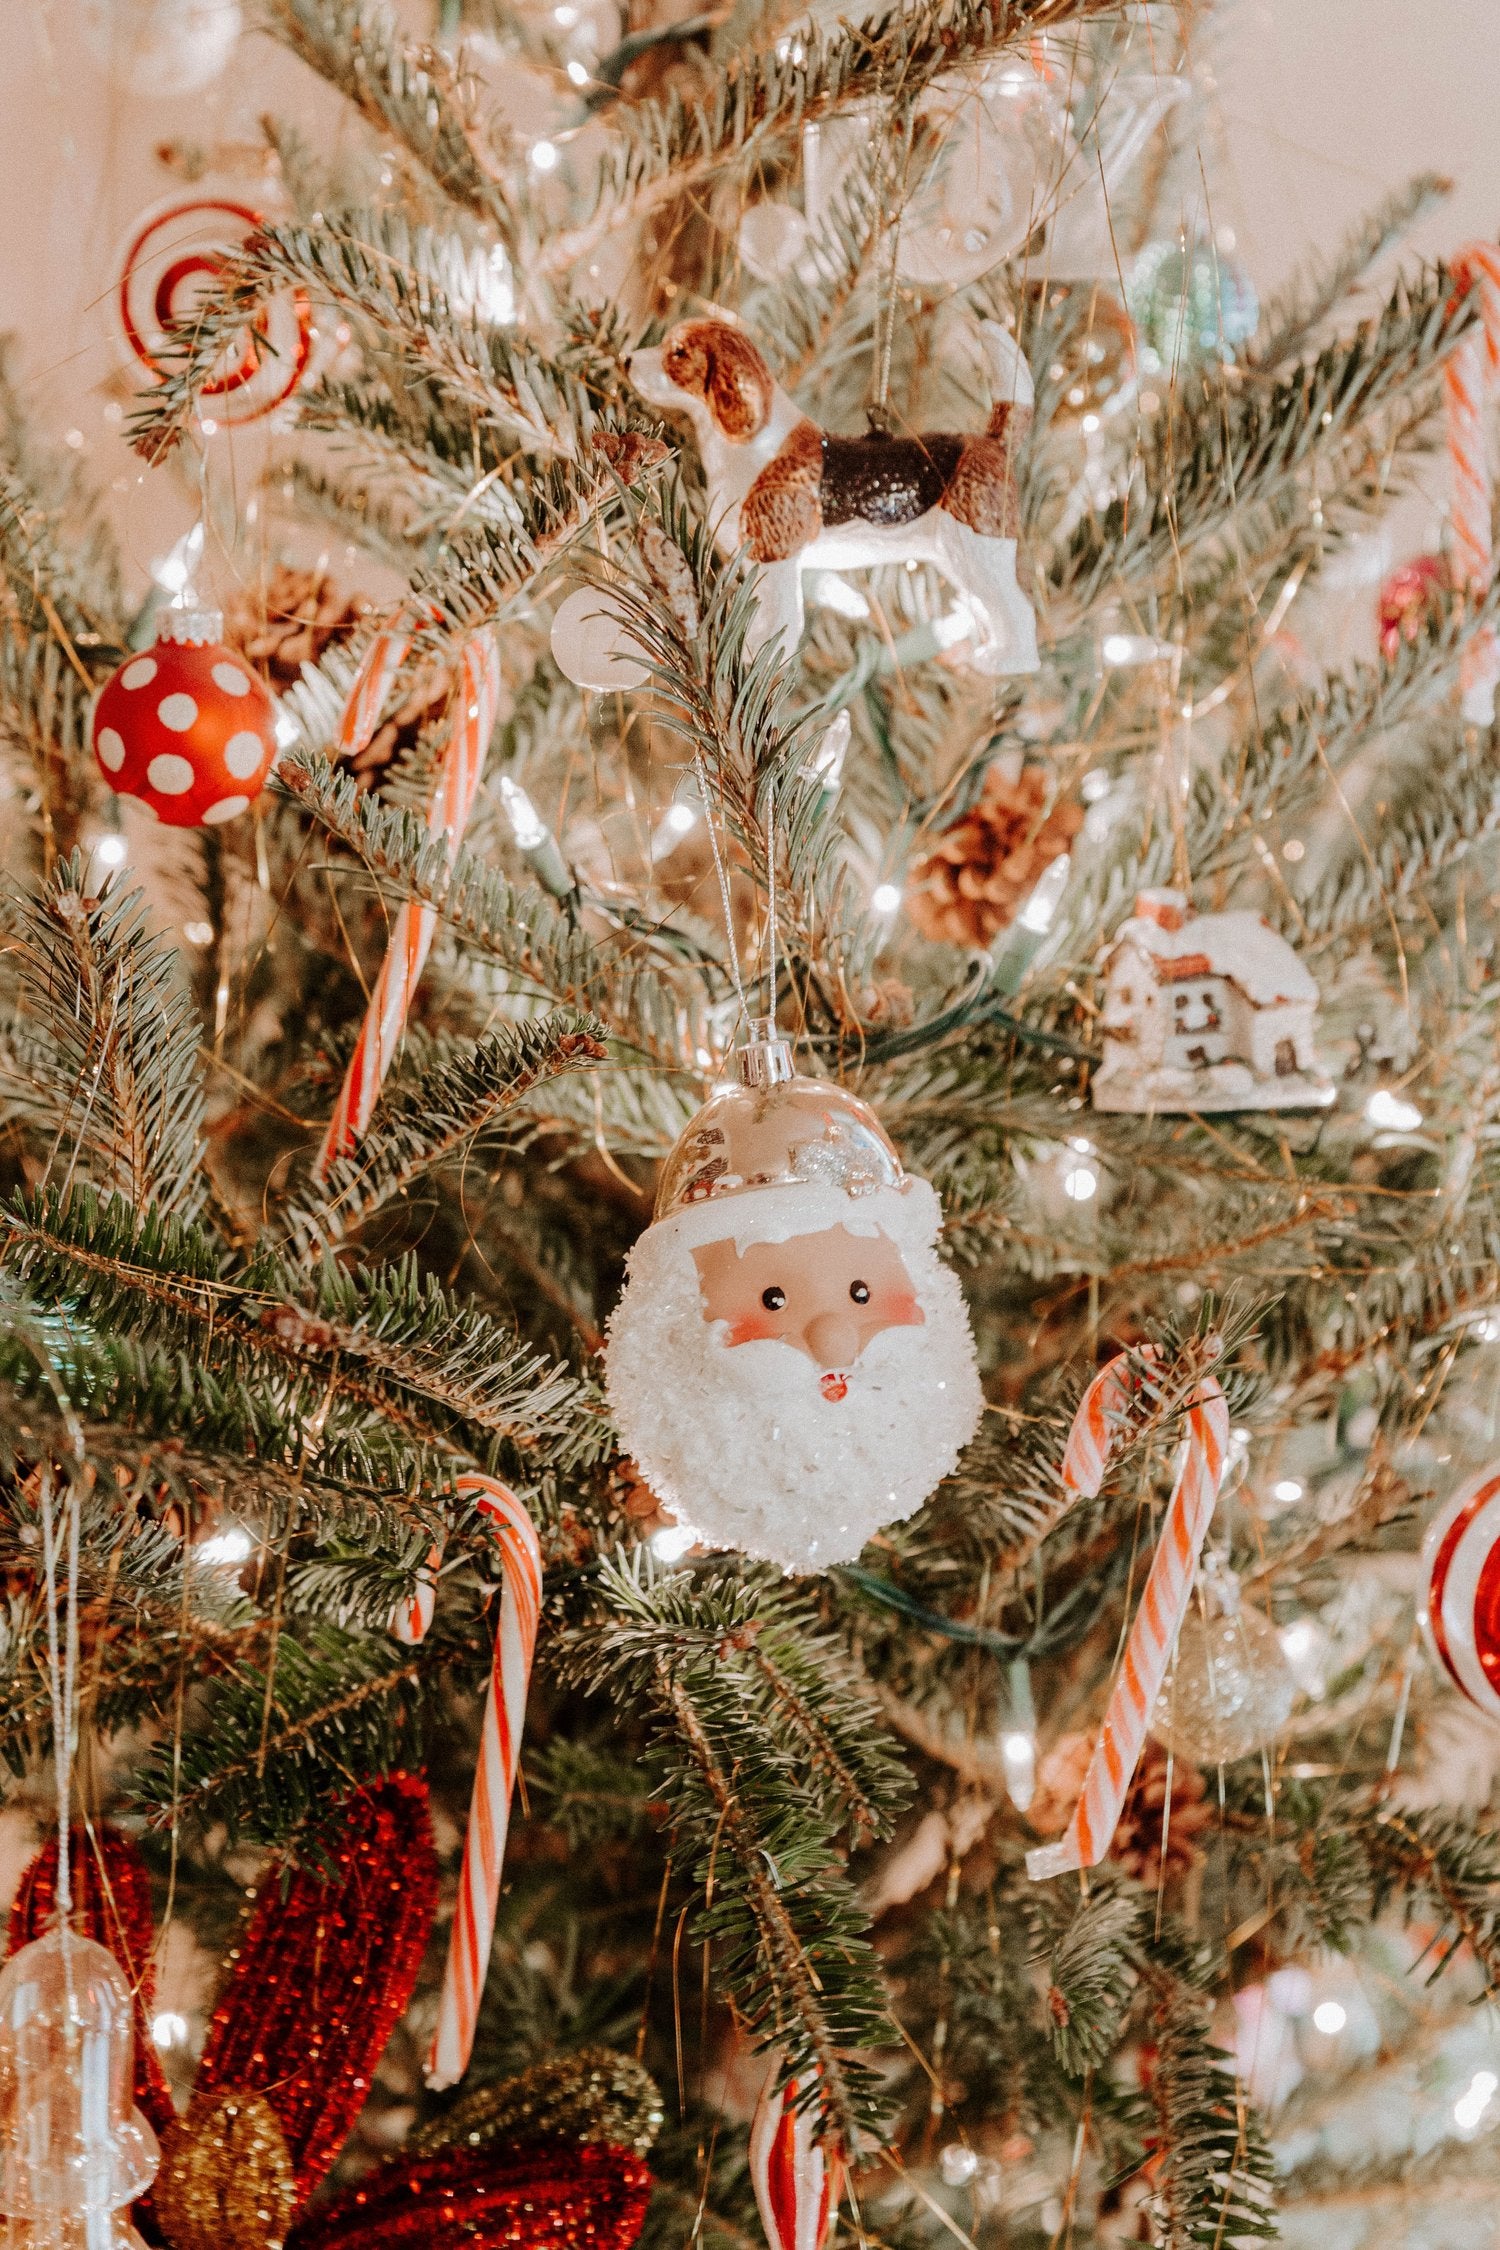
Photo by Benigno Hoyuela on Unsplash
These are your wow ornaments – the ones people will stop and take a closer look at. Put these ornaments in the best possible spots on the tree. Let them dangle, spin and sparkle while your colourful ball ornaments act as supporting players to the star attractions.

Step 7: The Tree Topper
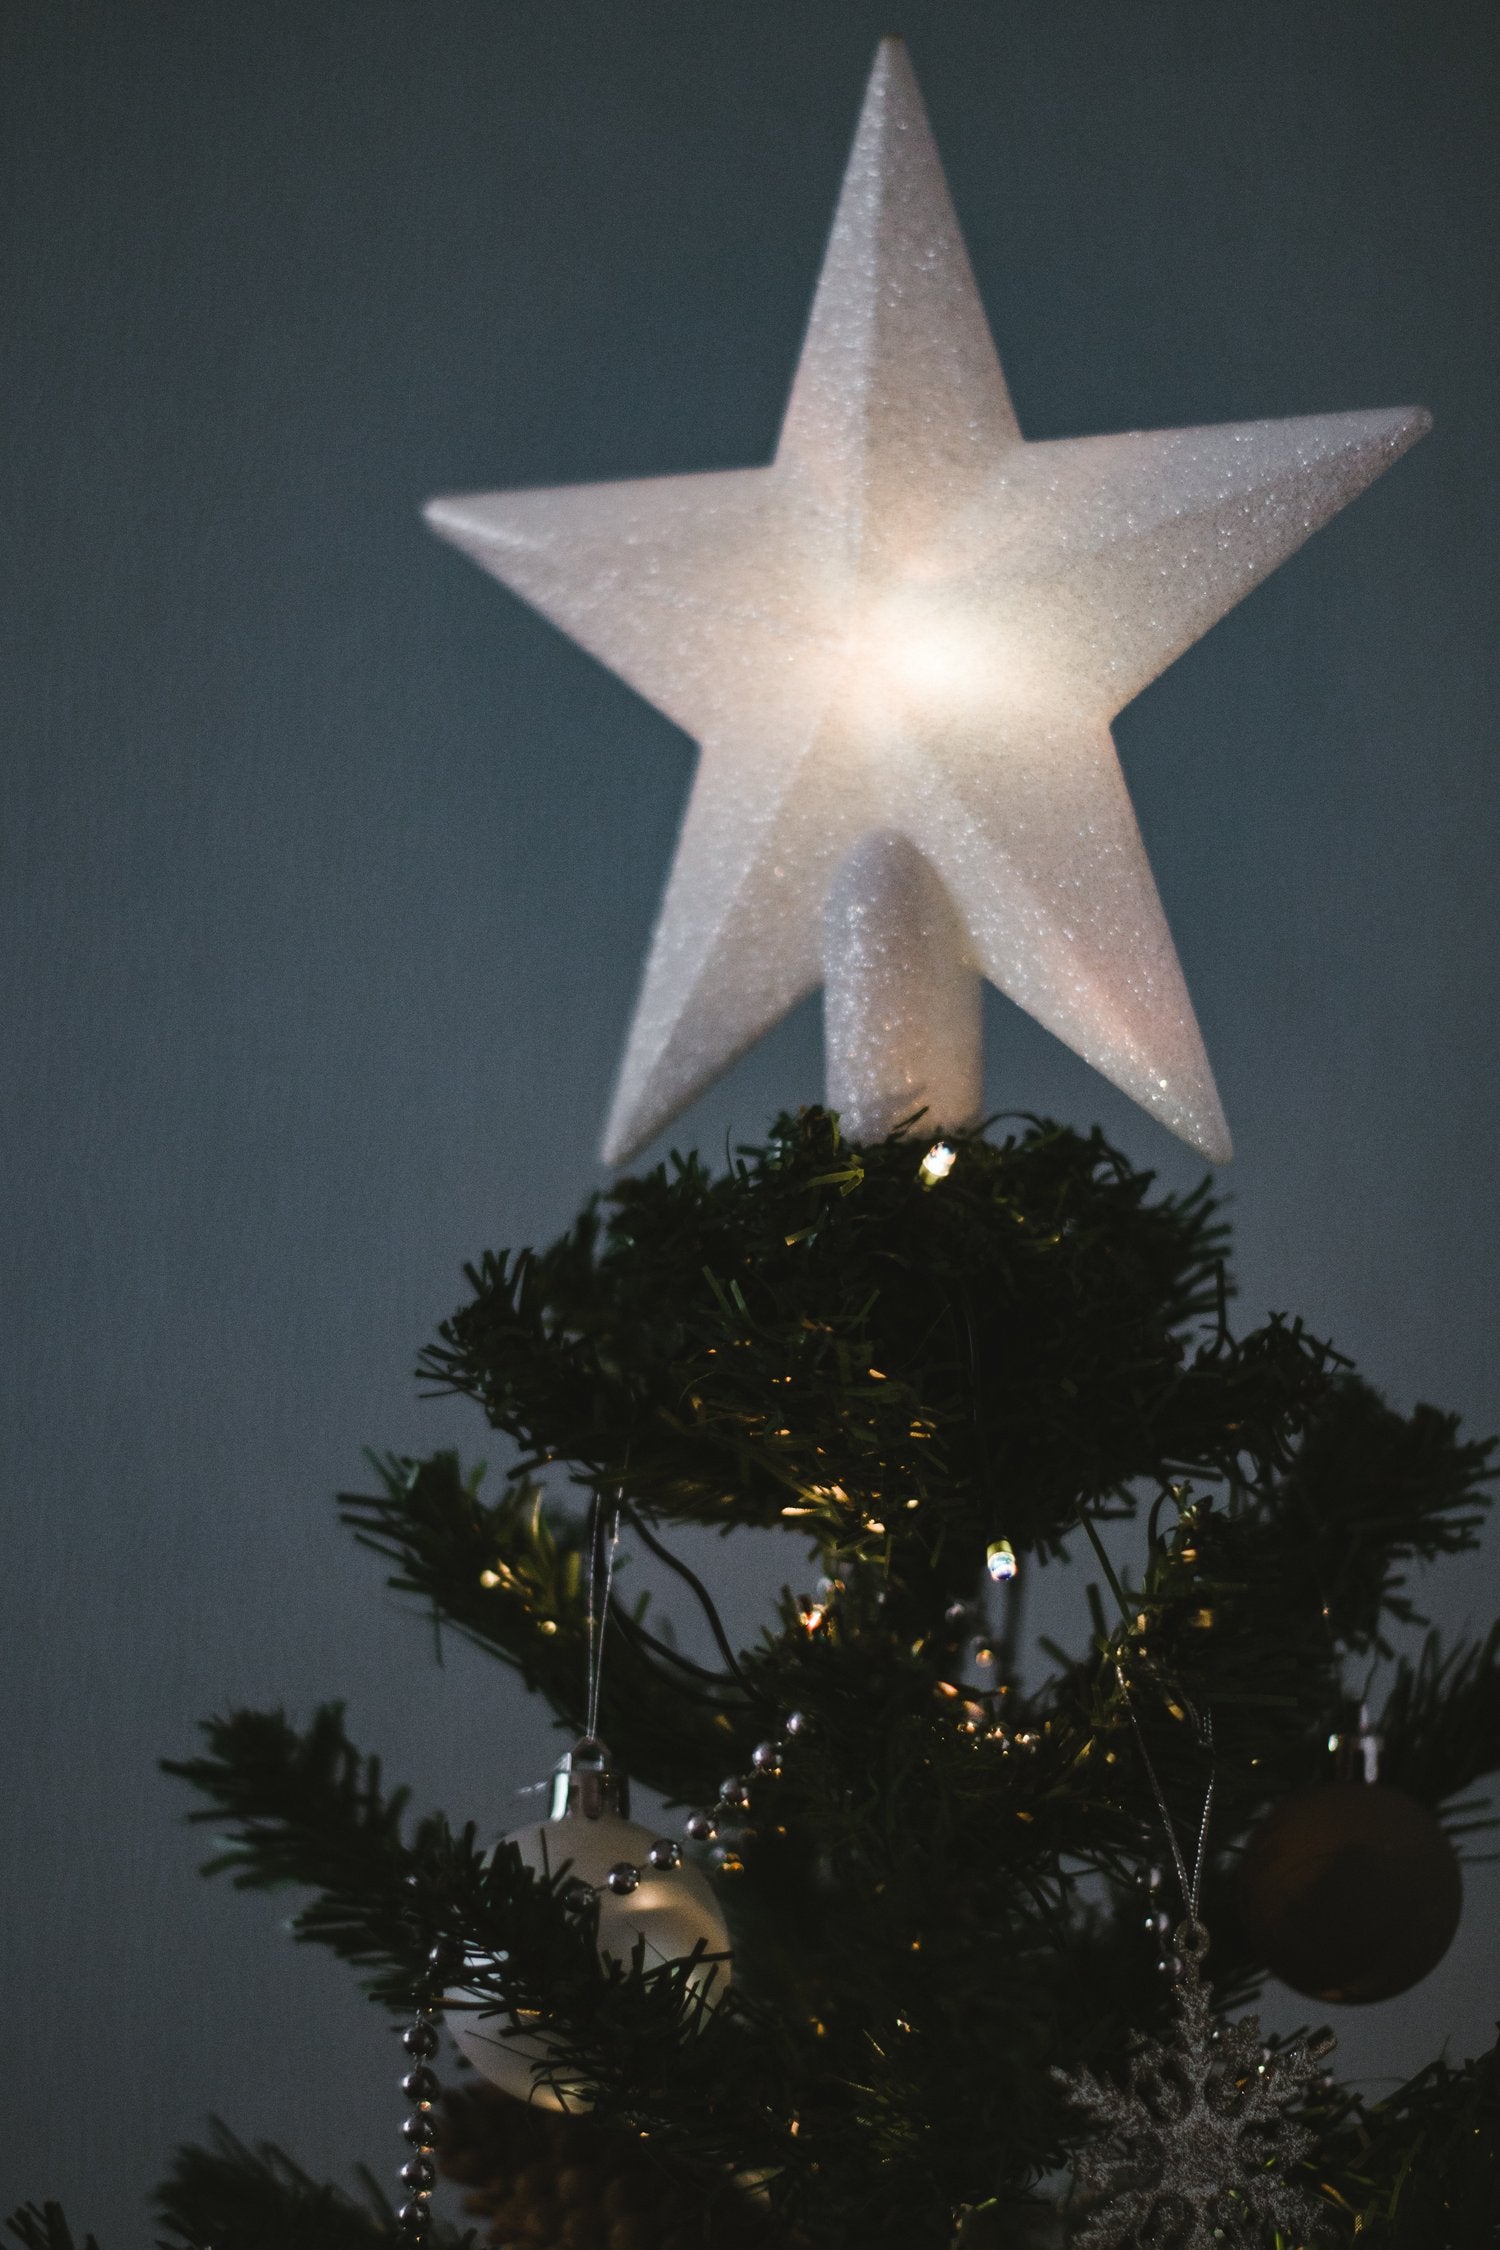
Photo by pure julia on Unsplash
